|
|
P.O. Box 944 Azusa, CA 91702 (626) 334-6018 sales@s-sengineering.com |
| Order | Installation | Parts | Specifications |
|---|
|
|
P.O. Box 944 Azusa, CA 91702 (626) 334-6018 sales@s-sengineering.com |
| Order | Installation | Parts | Specifications |
|---|
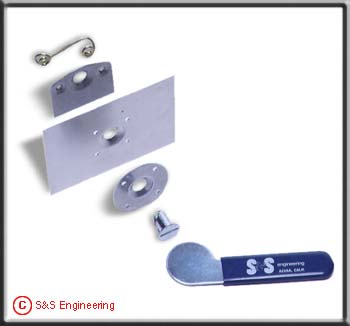
INSTALLATION INSTRUCTIONSfor an FO Style ButtonThis is the preferred method for the proper installation of a body panel using a Dzus plate, button, and spring. Here is a list of the hardware and tools you will need. |
|
Hardware
|
Tools
|
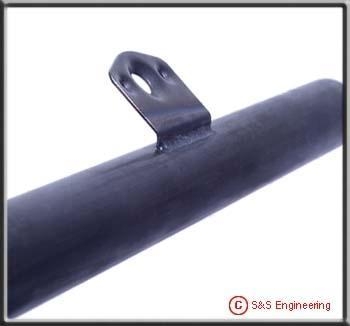 |
1. Weld plate to mounting surface.Determine where the Dzus plate is to be installed. To make a nice installation, the plate should be bent about 1/4" from the bottom at 30° to 45°. This allows the panel to lay flush against the plate without touching the weld bead. The plate is now ready to weld to the mounting surface. |
 |
2. Temporarily install spring with aluminum pop rivets.Install the spring on the dimpled side of the plate with 2 aluminum 1/8" x 3/16" pop rivets. Aluminum rivets are easier to drill out when removing spring for painting of chassis. Use steel rivets for the final installation. |
|
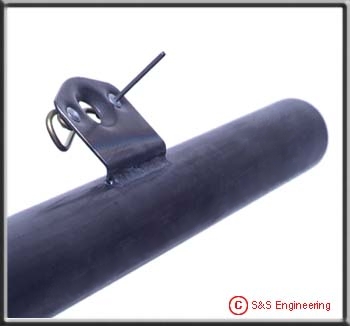
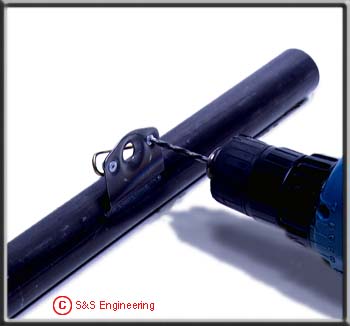
3. Use transfer punch to mark hole position.Use the transfer punch to mark the panel for the location of the buttonhole. Insert the transfer punch into the plate with the slot over the spring. Position the body panel and tap the outside of the panel directly over the punch, with a soft hammer or mallet. This will mark the position for the buttonhole in perfect alignment with the Dzus plate. |
|
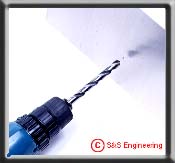
4. Punch or drill 3/8" hole, then dimple panel with dimpling tool.The panel is now ready to either punch or drill a 3/8" diameter hole located by the transfer punch mark. A Unibit® will work well for this job. Deburr the hole. Dimple the panel with the dimpling tool, making sure the dimple will point towards the plate. Tighten dimpler with 9/16" wrenches until flush with panel on both sides. |
 |
5. Install doubler for extra panel strength (optional).If panel needs to be reinforced, use a panel doubler. Align the doubler on the panel and drill the 4 holes in the panel using a #30 drill. Countersink the rivet holes. Permanently install the doubler with solid rivets. Solid rivets make a nicer finished product. Then adjust the spring tension so the button has a positive lock when installed. |
 |
6. Drill out aluminum pop rivets and permanently install spring with steel pop rivetsFinal installation of the spring is usually done after the mounting surface is painted. This means the aluminum pop rivets must be drilled out to remove the spring. Permanently install the spring with 2 1/8" x 3/16" steel pop rivets. |
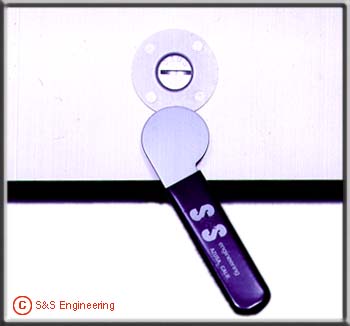 |
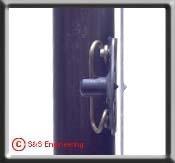
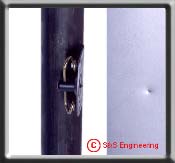
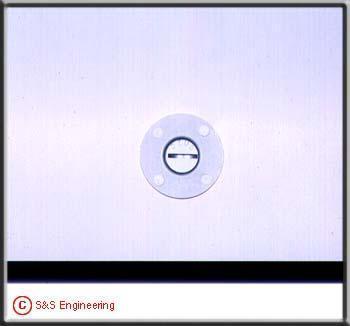
7. A wrench, a 1/4 turn, and you're done!Place panel with dimpled side against the plate and insert the Dzus button. The button only takes a 1/4 turn to secure the panel to the mounting surface. |
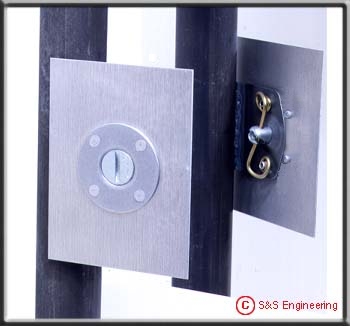 |
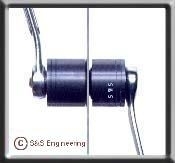
Front and back view of a properly installed FO style button! |